Nail art is a fun and creative way to express your personality, elevate your style, and add a touch of flair to your overall look. From simple designs to intricate masterpieces, nail art allows endless possibilities for self-expression. Whether you’re a beginner or a nail art enthusiast, this guide will inspire you with ideas, tips, and techniques to take your nails to the next level.
What is Nail Art?
Nail art is the practice of decorating, painting, and designing nails using various techniques, tools, and materials. It has evolved into a major beauty trend, combining creativity with fashion.
Nail art can range from:
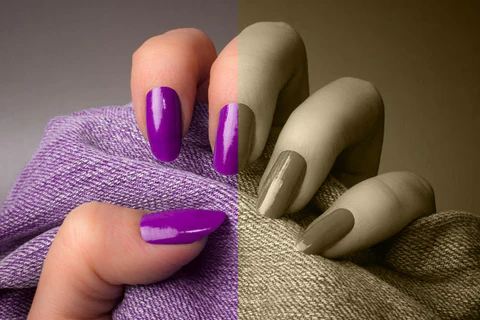
- Simple and Elegant: Solid colors, French tips, or minimalist lines.
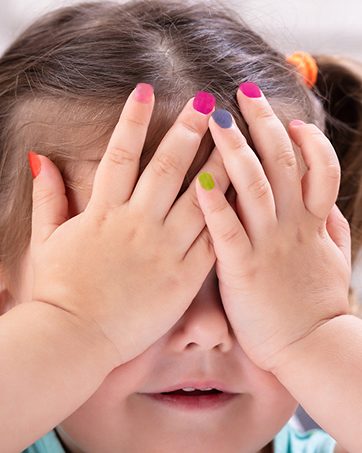
- Bold and Playful: Bright colors, glitter, and quirky patterns.
- Intricate and Artistic: Hand-painted designs, 3D embellishments, and complex patterns.
Essential Tools for Nail Art
To create stunning designs, you’ll need the right tools. Here are some essentials:
- Nail Art Brushes: Fine-tip brushes for detailed designs.
- Dotting Tools: Perfect for creating dots, flowers, and other circular patterns.
- Nail Tape: For clean, geometric lines and patterns.
- Stamps and Stencils: Easy tools for detailed designs without hand-painting.
- Sponges: Ideal for gradient or ombre effects.
- Rhinestones and Gems: Add sparkle and dimension to your nails.
- Nail Stickers and Decals: Quick and easy for professional-looking results.
- Glitter: For shimmering, eye-catching designs.
- UV/LED Lamp: Needed for curing gel polish and securing 3D designs.
Popular Nail Art Techniques
-
French Tips with a Twist
- Classic French manicures can be modernized with bold colors, glitter, or diagonal lines instead of the traditional white tip.
-
Ombre Nails
- Blend two or more colors seamlessly using a sponge. Perfect for creating sunset, ocean, or seasonal gradients.
-
Marble Effect
- Use a combination of colors swirled together for a natural marble look. A toothpick or brush can create the veins in the design.
-
Polka Dots
- Use a dotting tool or bobby pin to add playful polka dots over a solid base.
-
Geometric Patterns
- Use striping tape to create triangles, lines, and other geometric shapes.
-
Negative Space Nails
- Leave parts of the nail bare for a minimalist and chic design. Use tape to section off areas before painting.
-
Floral Designs
- Paint tiny flowers with a fine-tip brush or use stickers for a quick floral look.
-
Seasonal Themes
- Spring: Pastel colors, flowers, and butterflies.
- Summer: Bright colors, tropical patterns, and palm trees.
- Fall: Warm tones, leaves, and pumpkins.
- Winter: Snowflakes, glitter, and festive holiday designs.
Nail Art for Beginners
If you’re new to nail art, start with these easy ideas:
Accent Nail: Paint all nails one color and add a design to just one nail on each hand.
Simple Stripes: Use striping tape to create clean lines.
Glitter Gradient: Apply glitter polish to the tips of your nails and fade it downward.
Dotted Flowers: Create a simple flower by placing five dots in a circle with a contrasting dot in the center.
Color Blocking: Use tape to create sections and paint each section a different color.
Advanced Nail Art Ideas
For experienced nail artists, try these bold designs:
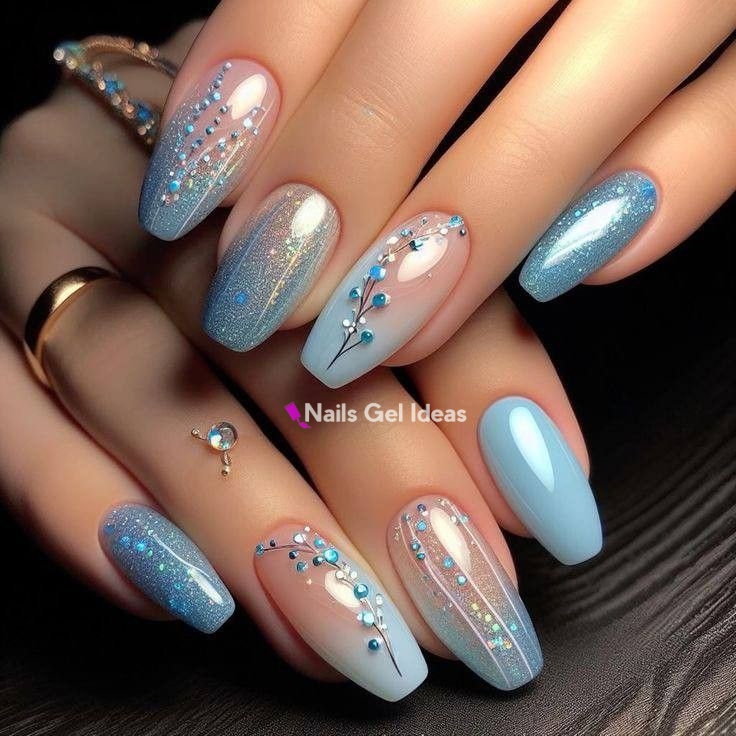
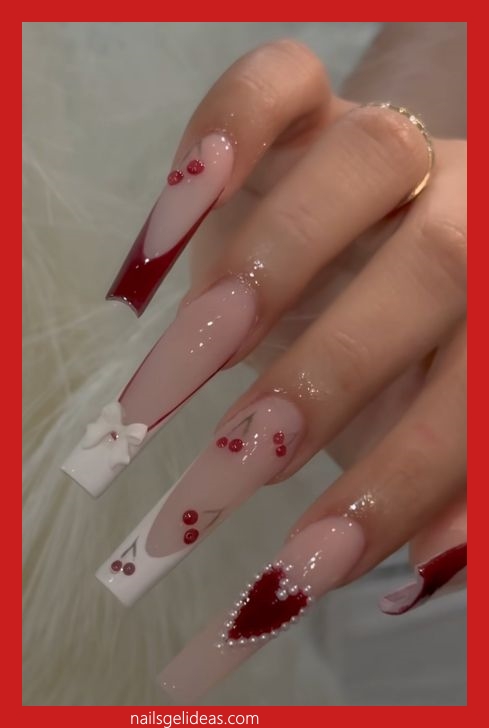
3D Nail Art: Use rhinestones, pearls, or tiny charms to create a textured look.
Hand-Painted Designs: Showcase your artistic skills with intricate hand-painted patterns like landscapes, portraits, or abstract art.
Holographic Nails: Use special powders or foils for a futuristic, shiny effect.
Mixed Media Nails: Combine techniques like stamping, freehand, and rhinestones for a unique, layered look.
Thematic Designs: Recreate characters, logos, or scenes from your favorite movies, books, or holidays.
Tips for Perfect Nail Art
- Prep Your Nails: Always start with clean, trimmed, and buffed nails for a smooth canvas.
- Use a Base Coat: Protect your nails and help the polish adhere better.
- Work Slowly: Take your time with intricate designs to avoid mistakes.
- Practice on Paper: Test your designs on paper before painting them on your nails.
- Clean Your Tools: Wipe your brushes, dotting tools, and sponges after each use.
- Seal with a Topcoat: Protect your designs and add a glossy or matte finish.
- Be Patient: Let each layer dry before adding the next to prevent smudging.
DIY Nail Art at Home
You don’t need a professional setup to create stunning nail art. Here’s a simple routine for at-home nail art:
- Prepare your nails with a base coat.
- Apply your chosen base color and let it dry.
- Use tools like brushes, dotting tools, or tape to create your design.
- Add embellishments like glitter or rhinestones, if desired.
- Seal your design with a topcoat for durability and shine.
Nail Art for Every Occasion
- Everyday Looks: Subtle nude tones, minimalist patterns, or accent nails.
- Special Events: Add sparkle, metallics, or intricate details for weddings, parties, or celebrations.
- Holidays: Festive colors and designs like hearts for Valentine’s Day, pumpkins for Halloween, or snowflakes for Christmas.
Final Thoughts
Nail art is a versatile and enjoyable way to enhance your look and showcase your creativity. Whether you prefer simple designs or detailed masterpieces, there’s something for everyone to try. With a bit of practice and the right tools, you’ll be creating stunning nail art that’s uniquely yours.
So grab your favorite polishes and tools, and let your imagination run wild!
Let me know if you’d like detailed tutorials or more design ideas!
[table id=1 /]